Update your APC devices without a Windows OS

I’ve been upgrading my APC UPSes to systems with APC management cards (AP9630/AP9631) in them. For some reason the APC site thinks that EVERYONE in the world only run Windows OSes. I don’t run windows… and it’s a PITA to get an eval VM just to update the APC firmware. Also, I really only have Linux boxes, or a MacOS X desktop.

Side note here: HEY APC! Can you create tools that run on any platform? Python maybe?

This article will give you some info on how to update the firmware on your APC with out the use of Windows OS.

Step one: Get binwalk https://github.com/ReFirmLabs/binwalk. One the Mac, after installing homebrew (https://brew.sh), run “brew install binwalk” – that will grab all the required components.

On Ubuntu you can run “sudo apt install binwalk”

Once you have a working binwalk, you can now go find the windows “exe” file from the APC website: https://www.apc.com/shop/mt/en/tools/software-firmware/. First figure out what version the UPS is on- this could be in the Admin menu, or the About menu. You will want to find the binary type, eg: “sumx”. If you search for your UPS type, and then enter in the managment card type- it should find the files on the site. Again, this is the worst, as it shows you like 3 or 5 different versions based on where that card goes. If the download has your UPS model in the name, it should work. EG: Smart-UPS & Galxy 3500. It’s a weird way to name & package firmware updates (EG: confusing).

Now, extract the file:

binwalk -e apc_hw05_aos688_sumx688_bootmon109.exe

You should then get something like this:

macbookpro13:Downloads username$ binwalk -e apc_hw05_aos688_sumx688_bootmon109.exe

DECIMAL       HEXADECIMAL     DESCRIPTION
--------------------------------------------------------------------------------
0             0x0             Microsoft executable, portable (PE)
28289         0x6E81          Zip archive data, at least v2.0 to extract, name: Bins/
28324         0x6EA4          Zip archive data, at least v2.0 to extract, compressed size: 1163832, uncompressed size: 3137792, name: Bins/apc_hw05_aos_688.bin
1192211       0x123113        Zip archive data, at least v2.0 to extract, compressed size: 81708, uncompressed size: 262144, name: Bins/apc_hw05_bootmon_109.bin
1273978       0x13707A        Zip archive data, at least v2.0 to extract, compressed size: 936098, uncompressed size: 3016836, name: Bins/apc_hw05_sumx_688.bin
2210132       0x21B954        Zip archive data, at least v2.0 to extract, compressed size: 186885, uncompressed size: 785780, name: Bins/sumx_688_esEszhCnjaJaptBrkoKo.lpk
2397085       0x24939D        Zip archive data, at least v2.0 to extract, compressed size: 191741, uncompressed size: 797409, name: Bins/sumx_688_frFrdeDeitItesEsptBr.lpk
2588894       0x2780DE        Zip archive data, at least v2.0 to extract, compressed size: 201265, uncompressed size: 900701, name: Bins/sumx_688_frFrdeDeruRuitItesEs.lpk
2790227       0x2A9353        Zip archive data, at least v2.0 to extract, compressed size: 197345, uncompressed size: 895158, name: Bins/sumx_688_frFrruRuzhCnjaJakoKo.lpk
2987640       0x2D9678        Zip archive data, at least v2.0 to extract, compressed size: 1149947, uncompressed size: 3464192, name: edtFTPnetPRO.dll
4137633       0x3F22A1        Zip archive data, at least v2.0 to extract, compressed size: 31586, uncompressed size: 74056, name: NMCFirmwareUpdateUtility.exe
4170378       0x3FA28A        End of Zip archive, footer length: 22
4170901       0x3FA495        Certificate in DER format (x509 v3), header length: 4, sequence length: 1006
4171911       0x3FA887        Certificate in DER format (x509 v3), header length: 4, sequence length: 1187
4173102       0x3FAD2E        Certificate in DER format (x509 v3), header length: 4, sequence length: 1227
4174333       0x3FB1FD        Certificate in DER format (x509 v3), header length: 4, sequence length: 1369
4175706       0x3FB75A        Certificate in DER format (x509 v3), header length: 4, sequence length: 1434

If you look that the above text- we see that it extracted the *.bin files that we need to update the firmware. NO MS Windows OS needed!

APC has a FAQ for updating their firmware manually. It feels like it was written by an engineer who has worked with the products for 20+ years, and can only run Windows OS. That FAQ is here (Very hard to read): https://www.apc.com/us/en/faqs/FA156047/

Bassicly- what it says is this:

If the package you downloaded has a .bin file that has “aos” someplace in the name, upload that first. Wait 20-30 seconds, Then upload the “bootmon” file. Wait 30+ seconds. Then upload the application file, eg: apc_hw05_sumx_688.bin

Now cd into the directory with the extracted binary files:

cd _apc_hw05_aos688_sumx688_bootmon109.exe.extracted/Bins/
macbookpro13:Bins username$ ls -l
total 19640
-rw-r--r--  1 username  staff  3137792 May  4 12:32 apc_hw05_aos_688.bin
-rw-r--r--  1 username  staff   262144 Jun  7  2019 apc_hw05_bootmon_109.bin
-rw-r--r--  1 username  staff  3016836 May  4 12:32 apc_hw05_sumx_688.bin
-rw-r--r--  1 username  staff   785780 May  4 12:17 sumx_688_esEszhCnjaJaptBrkoKo.lpk
-rw-r--r--  1 username  staff   797409 May  4 12:17 sumx_688_frFrdeDeitItesEsptBr.lpk
-rw-r--r--  1 username  staff   900701 May  4 12:17 sumx_688_frFrdeDeruRuitItesEs.lpk
-rw-r--r--  1 username  staff   895158 May  4 12:17 sumx_688_frFrruRuzhCnjaJakoKo.lpk

Now ftp to the APC device to be upgraded….

ncftp -u apc -p apc 192.168.101.21
put apc_hw05_aos_688.bin

# Wait 30-60 seconds for the APC to reboot - may have to restart ftp client

# login to APC again via FTP
ncftp -u apc -p apc 192.168.101.21
put apc_hw05_bootmon_109.bin

# Wait for the reboot again. 30-60 seconds.

# This final step will upgrade the Application on the card.
ncftp -u apc -p apc 192.168.101.21
put apc_hw05_sumx_688.bin

At this point you should have an updated version of the software ready to go, and now you can manage the device to your hearts content. If you brick your UPS managment card, it is not my fault. I take no responsibility for anyone following this process. But, it’s worked well for me, as I don’t have access to a windows box to run a .exe to unpack the firmware.

Good luck!
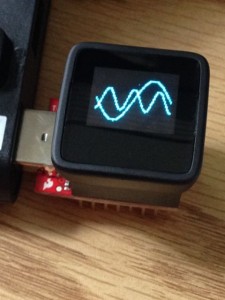
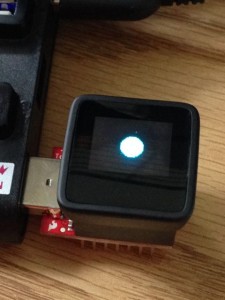
How to revive the MicroView from GeekAmmo / SparkFun without solder.

Step one. Stay calm. The MicroView will work again…

IMG_6305 IMG_6300

If your like me, you have at least one other Arduino laying around to do this. Most any Arduino can be setup to be a programing tool.  Check out the whole tutorial on the Arduino website about what an ArduinoISP is and how it will save this guy from certain death.

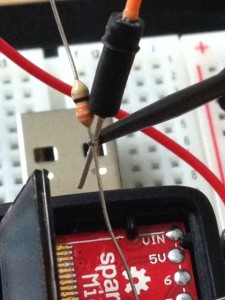
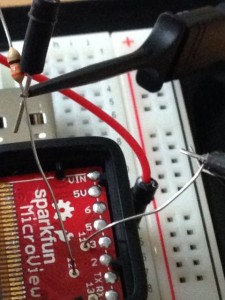
There is good tutorial from Make on how to fix this, but in their write up they are soldering to the via pins, and I didn’t feel that is really necessary to do that.  So instead I used the wire from a really small resistor, and stuck that info the hole of the via pins, and was able to recover the MicroView.

Materials needed:

  • 1x Arduino Uno or Other Aurdino Uno board.
  • Bread board (came with your MicroView)
  • 5-7 Jumper wires
  • 3x Small hookup wire or small resistors to fit in the via holes
  • 3x Alligator clips or Mini grabbers <— These are important

Step one:

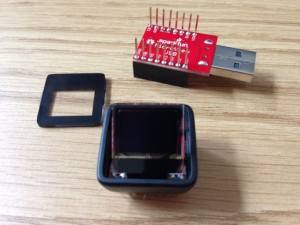
Open the front of the unit with your finger nail (no tools required!), it’s super easy to do. Just put a little pressure on the top and bottom, and use your finger nail on the sides to pull the front window out.

IMG_6257Step Two: Panic.

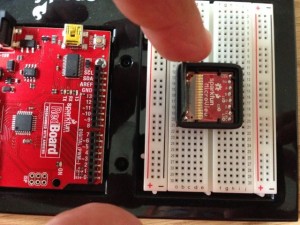
No wait. Stay calm. Gently lift the display to reveal the Via pins. Now put the MicroView into a bread board.

IMG_6263


We are going to set this up using the method described in the Arduino Tutorial on making another Arduino an ISP programer.

  • Wire the Arduino GND to the GND rail on your bread board.
  • Wire 5V from the Arduino to the VIN pin of the MicroView
  • Put your jumper wires into the pins of the Arduino board for 10, 11, 12, and 13.
  • Wire Pin 10 from the Arduinio to the RST pin of the MicroView
  • Put a jumper from the BreadBoard GND to the MicroView GND – it should come alive and have the fun demo running.
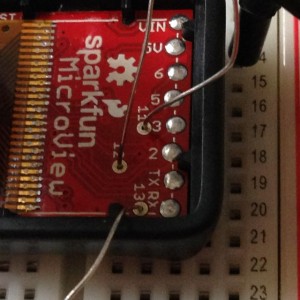
  • Now comes the fun part… place the small wires into the Via holes like so…

IMG_6273

For the wires, I used one side of a resistor leg, but you could also use small hookup wire. Grab your mini grabbers or alligator clips, and hook up the following:

  • Pin 11 of the Ardunio to Pin 11 of the MicroView
  • Pin 12 of the Arduino to Pin 12 of the Micro View
  • Pin 13 of the Arduino to Pin 13 of the Micro View

IMG_6288 IMG_6290

Now we need to turn your regular old Arduino into a programmer! Be careful of the wires, and go ahead and plug the Arduino in. To get this going, we are going to use the Arduino IDE completely! So if you’ve never used the command line tools, this will be easy for you.

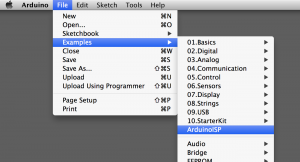
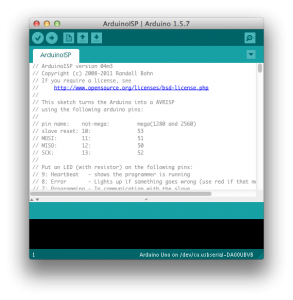
First we need to open the Example Sketch “ArduinoISP”.

Screen Shot 2014-08-21 at 3.17.56 PM (2)

Screen Shot 2014-08-21 at 3.26.05 PM

Now select the Board type, and the serial port, and hit upload. Once this completes, we can set this up to be our ISP for programing the boot loader to the MicroView.

Burn The Bootloader

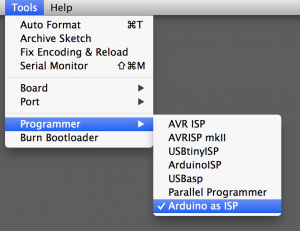
Reset the Arduino board, and set the Arduino IDE to use the “Arduino as ISP” to program for the MicroView.

Screen Shot 2014-08-21 at 3.37.57 PM (2)

Now, make sure all the wires are secure, and not shorting out, or crossing anything, select the serial port for the Arduino, and hit the “Burn Bootloader” menu option.

If everything works, it should only take about 5-10 seconds to write the boot loader to the MicroView. The MicroView will now go dark. This is normal, and expected, as we just wiped its memory.

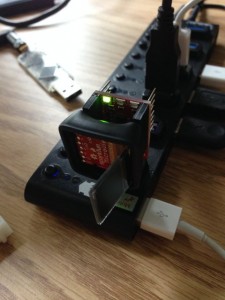
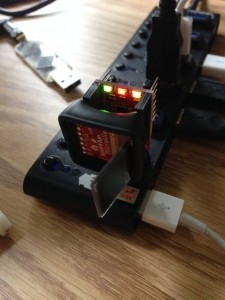
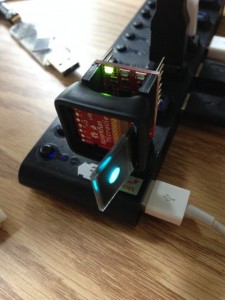
You should then be able to unplug the wires and plug it back in your computers USB port, and program it directly via the USB board that came with the MicroView.

IMG_6294 IMG_6296 IMG_6298

Now put the front cover back on, and you are good to go!  Good luck, and I hope this helps are few people out!

Toorcamp Raspberry Pi Workshop!

I’m teaching a workshop at Toorcamp!

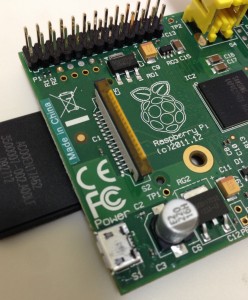
PiClassCrop26Do you want to make an automated cat feeder? Have you played with Ardunio or a Raspberry Pi? Maybe you’ve never used either. This workshop aims to teach the basic skills of setting up a Raspberry Pi Linux computer and working with Input and Output (GPIO). Using a Raspberry Pi and GPIO you can react and control the real world! We will teach you the skills you need to read temperature, light, control LEDs, move a servo (motor), and more!

This workshop will be split into two three-hour sessions. Part one will be installing and booting your Raspberry Pi, running python, and getting things going- ideally blinking LEDs by the end of class. Part two will involve advanced python concepts, and working on reading temperature, and other real world applications for GPIO.

To register visit: https://www.eventbrite.com/e/toorcamp-raspberry-pi-workshop-tickets-11926848525

The first class will start Friday July 11th, at 2:30pm.

Requirements for this class are:
A laptop or computer with a free USB port and Administrator or root access to the system.

This class has two tiers:
Tier 1 Includes a kit with a breadboard, sensors, LEDs, Wifi, etc. You must bring your own Raspberry Pi.
Tier 2 Comes with a Raspberry Pi, and includes everything from the kit in Tier1.

Tier 1 Workshop Kit Includes (https://www.adafruit.com/products/955):
USB Cable
Serial Console Cable
SD Card
Pi Cobbler with Cable
Breadboard
Breadboarding wires
Ethernet
PiClassCrop31Cool Raspberry Pi Badge for your bag.
5 x 10K resistors for pullups on the buttons
5 x 560 ohm resistors for the LEDs
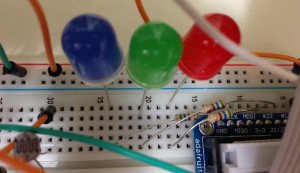
1 RED 10mm diffused LED
1 GREEN 10mm diffused LED
1 BLUE 10mm diffused LED
3 tactile pushbuttons
Light-sensitive resistor photocell
1uF capacitor
1 MCP3008 (Analog to Digital)
1 1-wire Temperature sensor
1 Analog Temperature sensor
1 USB Wifi

Tier 2 Workshop Kit:
Everything from the Tier 1 kit.
Raspberry Pi Model B

Tier 1 cost: $125
Tier 2 cost: $165

More power captain! Or when sprinkler valves fail…


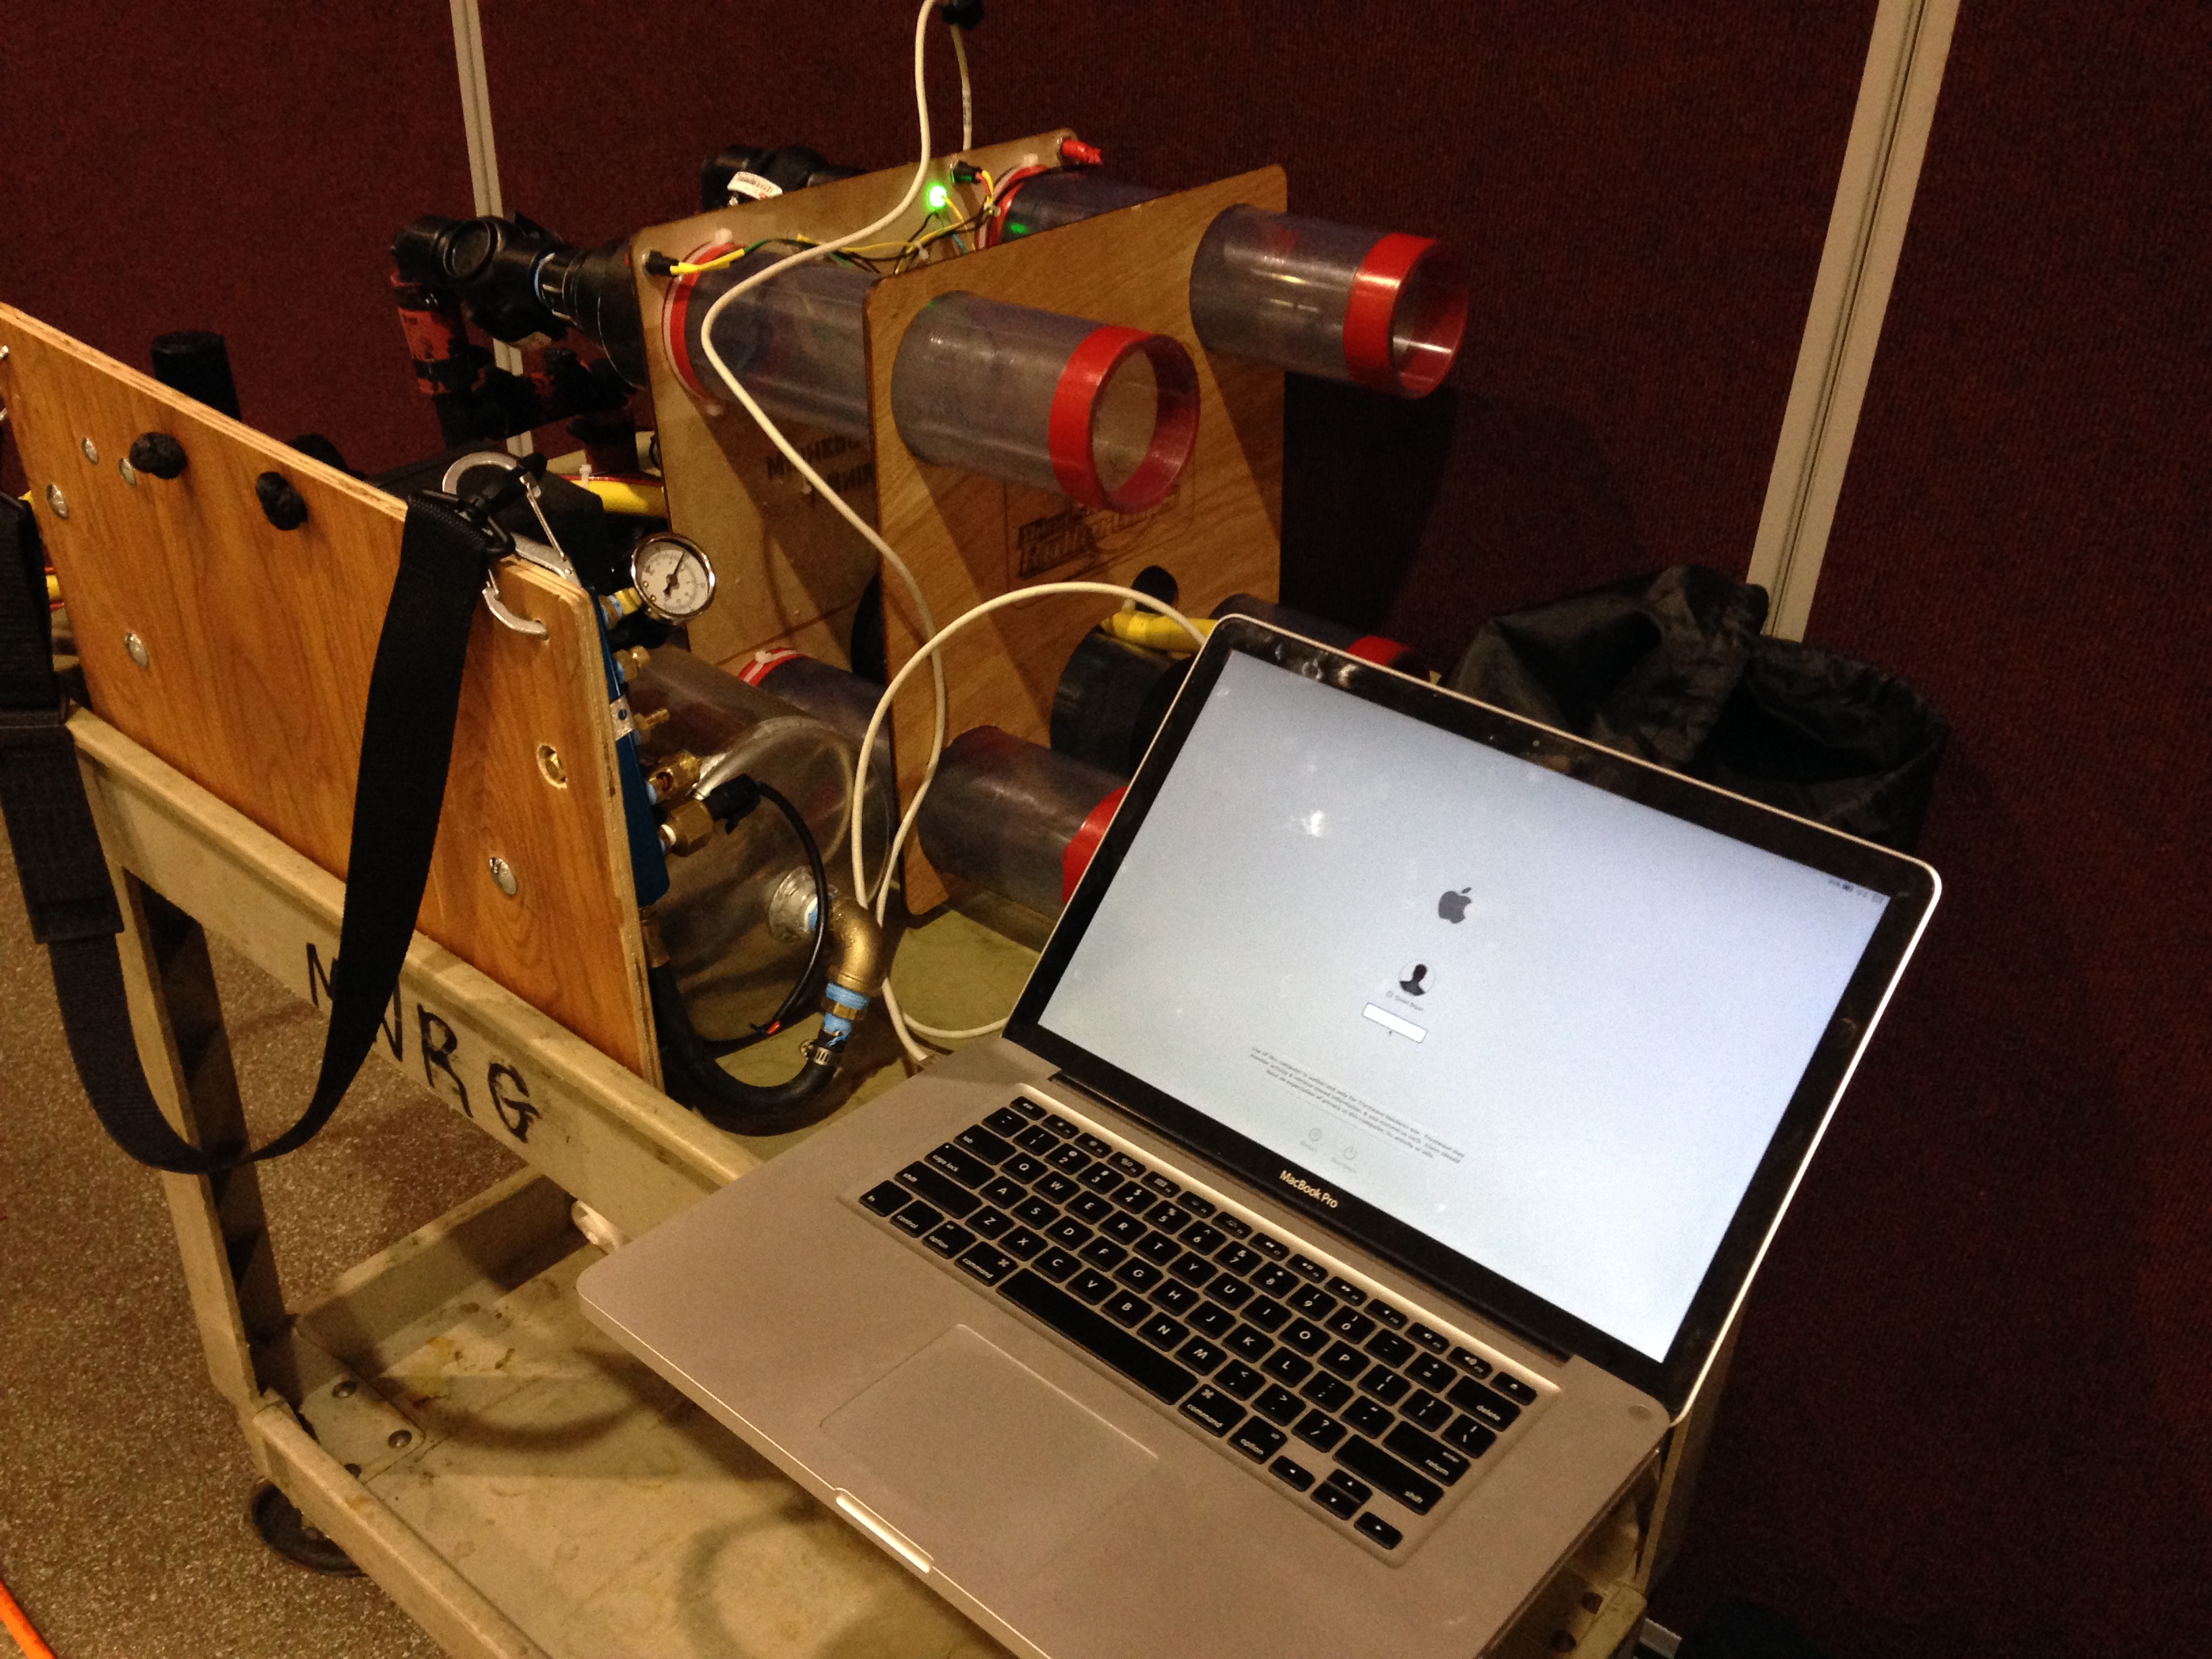
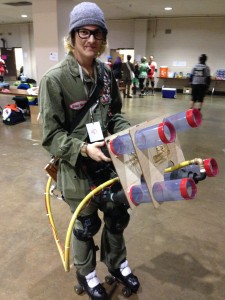
For the Minnesota Roller Girls roller derby game in February they played in the Xcel Energy Center, which was awesome!  The place holds a ton of people, which is great for MNRG, but presents a challenge for the T-Shirt cannon, as the calculations were set for the Roy Wilkins Auditorium.  So, I went about changing the dimensions of the cannon to shoot T-Shirts twice as far!  Bassicly, I cut the accumulation chamber in half, added a 3″ PVC T, and 13″ more of 3″ PVC pipe.  This allowed us to get the force to shoot further, but also meant that we would only get two shots out of it. Continue reading

MNRG Raspberry Pi powered T-Shirt Cannon

Photo of MNRG T-Shirt Launcher
Wet Spot 2.0 Holding the Minnesota RollerGrils T-Shirt Cannon 2.0

Last year I was asked to repair the Minnesota RollerGirls T-Shirt Cannon that failed mid-season.  I created a temporary fix, just in time before the game. The repair got us talking about the future of T-Shirt launching technology. What would make this cooler? How can we improve this technology to make Launcher 2.0?

Minnesota RollerGirls’ Wet Spot (Lucas Saugen) and I started brain storming.  We met for lunch and started throwing around ideas.

What could we do better? In five years, where will the technology of T-Shirt launching be?  How can we make sure that there wouldn’t be a T-Shirt Cannon technology gap at the Minnesota RollerGirls?

Also, how can we make it so that the darn thing doesn’t break every season.

T-Shirt Cannon of past.
Former Cannon, mid fix on the operating table

This blog post details some of the build, process, and technology that went into making the new Raspberry Pi powered T-Shirt Cannon for the awesome Minnesota RollerGirls team!

First we came up with a list of things that we wanted for the new T-Shirt Cannon. This would ensure it would be a viable technology for future games and entertainment.

Our Ideas:

  • Tweet – (Yes, Tweet when it has launched a T-Shirt)
  • Camera – To capture that special moment of hitting someone in the face.
  • “Capture all the stats!” Tweet the stats about the launch
  • Launch more than one shirt in a time-out period, which is ~60-90 seconds.

We also got ideas from the teams:

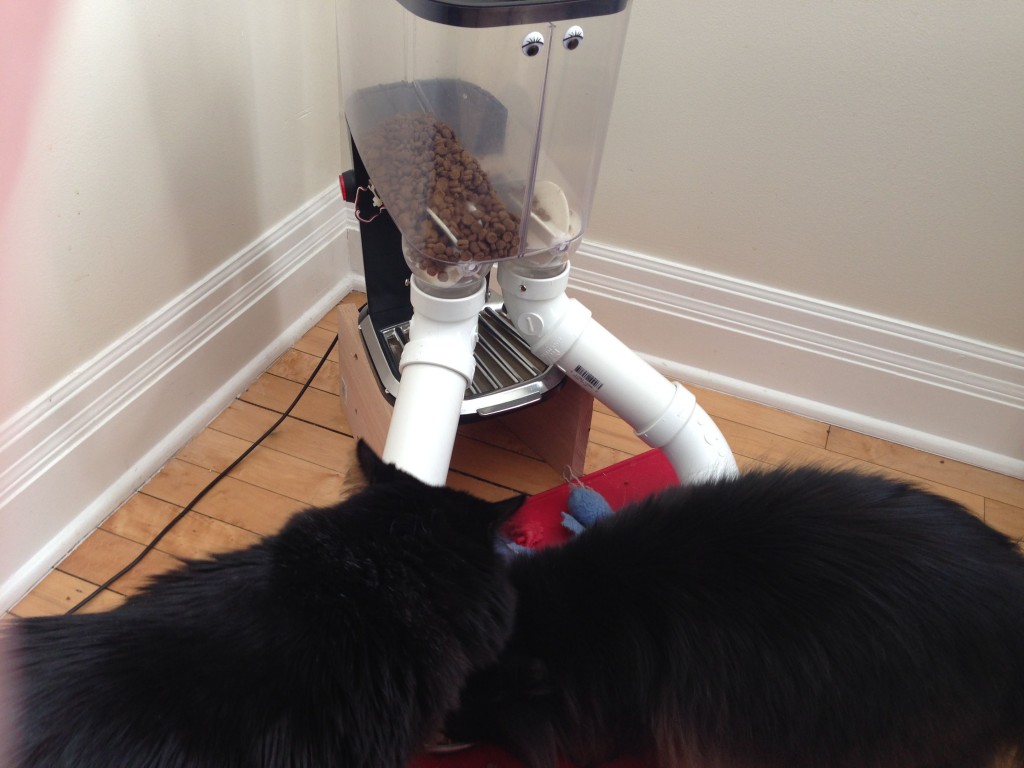
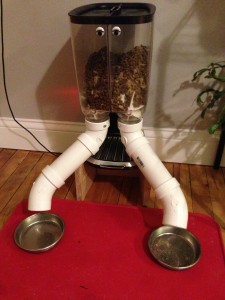
Raspberry Pi Power Cat Feeder – Updates

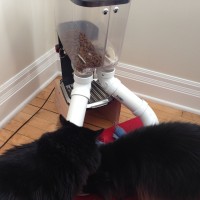
Back in February 2013 I started teaching my Raspberry Pi 101 class. After the first class I think I had Pi on the brain, I was scheduled for a quick weekend trip out of town with my girlfriend, and she was due to leave her two cats behind. She said that she was going to leave a large bowl of cat food out, and with that I suggested that I build an automated cat feeder for them.

IMG_3731

Ya know, so the cats don’t over eat, and maybe have a mixture of food, and it’s super cool! (Did I mention that it’s cool!?) So… five days before leaving town, I purchased the food hopper, and very quickly ran out of time to complete the project before leaving on vacation. So plan B it was, a large bowl of cat food, and water.

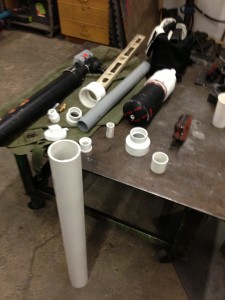
However, I did stick with my original plan, and saw the build to completion well before my next trip out of town. In this blog post, I’ll list out the step-by-step (for the most part) process to building your very own Wifi Enabled Raspberry Pi Powered Cat/Human Feeder.

Continue reading